Sunday 9 November 2014

Bridie: A Dress For All Occasions

So at the end of October I had a few nice events scheduled in my diary (which is none existent and is really me trying to remember what day it is in my head). Not only was it Halloween but we had decided to celebrate our anniversary on the same night. This is what happens when you have children you have to combine all your celebrations into the nights you can get a babysitter. Also the next day was the first Sew It Yourself Meet Up I had organised. So the challenge was to create a dress that would fit into all three occasions. Luckily the theme for the Halloween gathering we were going to was scary dolls so my plan was to go as a porcelain doll. Which I find terrifying! So I just had to make a pretty dress which meant I didn't have to wear a scary costume for my meal out.

I already had the pattern in mind, it was a cute Simple Sew pattern I got free with issue 4 of Love Sewing Magazine which I get so excited about every month. They have great free gifts, patterns and very clear instructions!           


This pattern requires fabric which is 55-60 inches wide which I struggled to find in a fabric I liked. In the end I feel in love with this beautiful bird and cage fabric which is 100% cotton, but wasn't wide enough so I decided to add a panel around the bottom. I found some ivory fabric which has a subtle leaf design which picks out the leaves around the bird cages. Both are from my local fabric stall The Fabric Corner  which has a great selection and very helpful, friendly staff! I love chatting about sewing projects with them! 


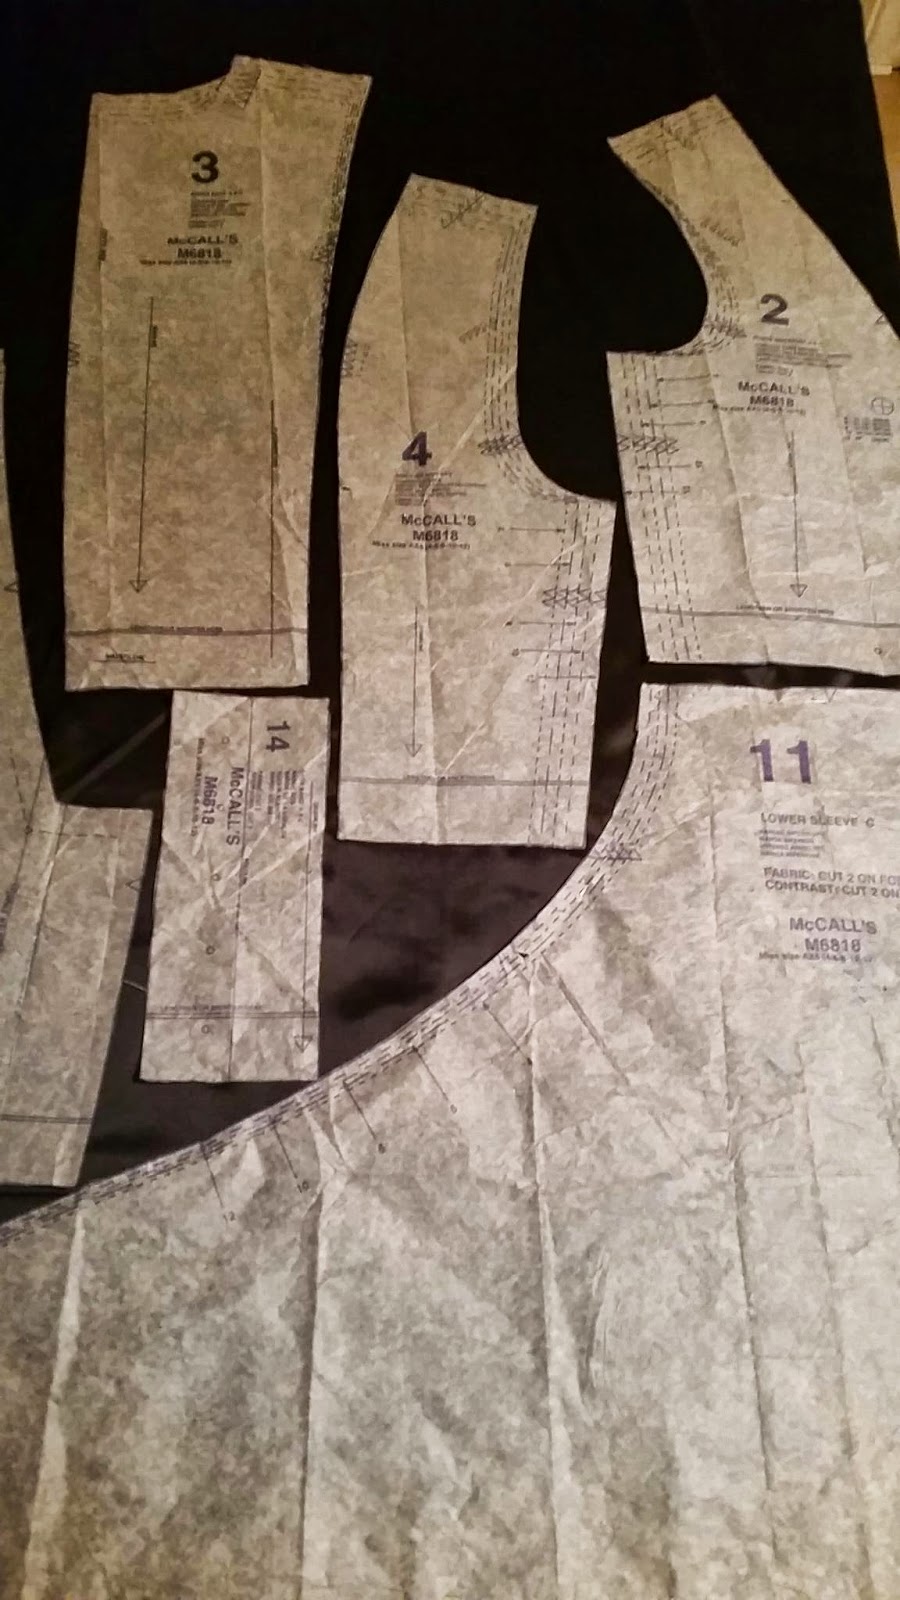
I really enjoyed working with this pattern it was so easy to trace as it isn't printed on tissue paper which makes life so much easier!


The instructions are also very easy to understand and follow, with great working drawings! A great pattern for beginners as well as more advanced sewers!


Once I had cut out my fabric pieces and added interfacing to the facings I sewed in the darts. Then pressed them inwards. After this I attached the front to the back pieces at the shoulders. 


I then zig zag stitch around the edge of the facings. I had initially tried out the over lock stitch for this and started off thinking woo no more need to use my pinking shears on every thing. This was until Fred (my sewing machine) started to get very grumpy and as she's an old lady I thought it best not to push her to much! 


I then sewed round the arm holes and neckline and clipped into the curves then pulled the back pieces through the shoulders to the front. I gave it a really good press after this.


So far so good!


I then added the skirt pieces to the bodice. I had already attached the panel of ivory fabric to the bottom of skirt panels. It was easy to alter the pattern, I simply shorted the skirt pieces so that they would fit onto the bird and cage fabric and the piece I had cut off was now the pattern piece for the bottom panel. I didn't have to worry about adding a seam allowance as  I had decided I was going to use bias binding instead of hemming it.   


I really love the contrast in bold patterns to the more subtle one.


To finish off I sewed up the sides of the dress.


Then added a concealed zip, I'm so proud of the way this one turned out as I've mentioned before me and zips have not had a good relationship in the past. This one turned out almost perfectly.


To finish off I added a royal blue bias binding which I think really brings out the blue of the birds. I also found some shoes in exactly the same colour. I do love it when an outfit comes together.


I love the way this dress fits and I felt so confident in it. 


The back neckline is so flattering!


It was perfect for all the special occasions I had planned and I'd happily wear it just going to the shops I love it so much. I am defiantly going to be making it again!  


Happy sewing! x

Tuesday 4 November 2014

Jo: White Tree Fabrics Halloween!!

For the past few years it has become a bit of a tradition for us to dress up and drink jelly shots. This year the theme was witches and wizards. Initially my thoughts turned to Harry Potter characters, however this turned out to be a popular idea. Next my mind turned to Disney, and the evil Queen from Snow White and the old hag witch she turns into to poison Snow White. As I couldn't decide which character to be the host of the party suggested, 'why not do both, I'm sure you can figure it out!' Challenge accepted!


This was my influence for my costume. With the help of White Tree Fabrics I ordered this pattern to work from and this was my main fabric.


The thought processes begun and I decided to split the costume in half to have one side as the Queen and the other as the old hag witch.
So first step was to spend a long time cutting out my pattern pieces needed. I had to mix up some of the pieces from different coats, mainly coat B pieces were used however i used the sleeves from coat C. When all was cut I tried to follow the layplan however still managed to fit it all in, I cut out the main fabric and the black lining.


With this project I actually decided to attempt to follow the instructions as it seemed pretty complicated. I assembled the bodice and the lining for the bodice and attached them together. I was meant to do the sleeves next, but as I hate putting sleeves in, almost as much as zips, I left them until last.


The only issue I found with the purple fabric is that the pattern pieces tended to stretch out of shape, however, I did love the glitter that was left all over my floor from cutting it!
I then ironed interfacing onto my collar, half of the collar was black and the other was white. This was the main change I used to symbolise the difference between the 2 sides of the character.


I then attached the skirt part of the jacket including lining. I then hemmed the edges. I attached the sleeves making sure one sleeve was lined in black but the Queen side was lined in purple. 


I then added a cape using the original pattern but the front of the caplet pattern, this was very simple to sew and hem and I attached it with a few hand stitches incase I wanted to take it off for future costumes. So far looking good. 


And final touches included a hood that was tight one side and baggy the other. This was a seperate item that was not attached to the jacket. It involved some gathering around the neck on one side to make it more of a close fit and hair grips. I made a mini crown out of card and a grey wig to complete the costume.

And the finished look, teamed with some clever make up and a black skirt and top underneath.


Thanks for reading guys, and here's a treat for you,
20% off and free p&p when you order from:


Just enter the code:
 "SIY challenge"

Thanks for reading
 Jo 
x


Monday 3 November 2014

It's Competition Time Woooo


So this is exciting, to celebrate reaching 100 likes on our Facebook page which we really weren't expecting and to say thank you for all the lovely comments and encouragement we're having a little competition.

This is what you lovely folks could win.


A vintage 1970s Jacobean embroidery magazine which is unused and has all the original templates.


A Vintage 1970s Vogue pattern which is unused, size 16 bust 97cm, waist 76cm, hips 102cm. It would be perfect for soft fabrics such as crepe and jersey.


11 vintage 3cm grey tortoise shell buttons.


10 vintage 2cm black and grey tortoise shell buttons.


12 vintage brass buttons.


Just over 2.50 m of vintage brown, beige and purple fabric with a geometric pattern. I'm unsure what kind of fabric this is but it does have a slight stretch and drapes well. 


2 pieces of vintage paisley fabric. One piece is 1.40m and has sequins the other is 80cm and has no sequins. 


We have a lovely piece of lace cream fabric donate by the fabulous White Tree Fabrics who have very generously given 2m. It really is beautiful and I can think of so many this you could make from it!


Finally we have these amazing lollies from Goodies a lovely old fashioned sweet shop. They are the most amazing flavors we have Bakewell Tart, Cookies and Cream, Birthday Cake, and Gin and Tonic yum!


So here's how to enter simply comment on this post saying why you love sewing (this is just for fun so no pressure) and if you haven't already Like and Share our Facebook follow the link here
Just one comment per person please.
If you struggle to leave a comment here feel free to leave it on our Facebook page instead.

The competition is open till 12th November 12am and the winner will be announced on our Facebook page.
Good Luck from The SIY Challengers x