
As many of our lovely blog readers are aware, we have joined forces with the fabulous White Tree Fabrics and become part of their blogging team.
So here is my first project post. I have to admit this project has pushed me to the max and almost had me in tears when I had a very close call with an iron.
I chose a wine chiffon with a red lining for my dress and I seem to be loving the colour red at the moment and it can be worn in any season.
So heres my vogue pattern, and how it is supposed to look, and as many people will know I like to chop and change things and alter and embellish.

This is were my first alterations to the pattern happened. I wanted the lining of the skirt to be shorter so the full length of the chiffon is shear. This involved carefully folding the skirt panels to the correct length, another idea would have been to trace over the pattern but adjusting the length.


"SIY challenge"
So first steps of using a pattern that isn't mine is to read the instructions, they are there for a reason. They tell you how lay out your pieces on your fabrics to make sure they all fit with out wasting fabric and give you a step by step guide on how not to mess up your dress.
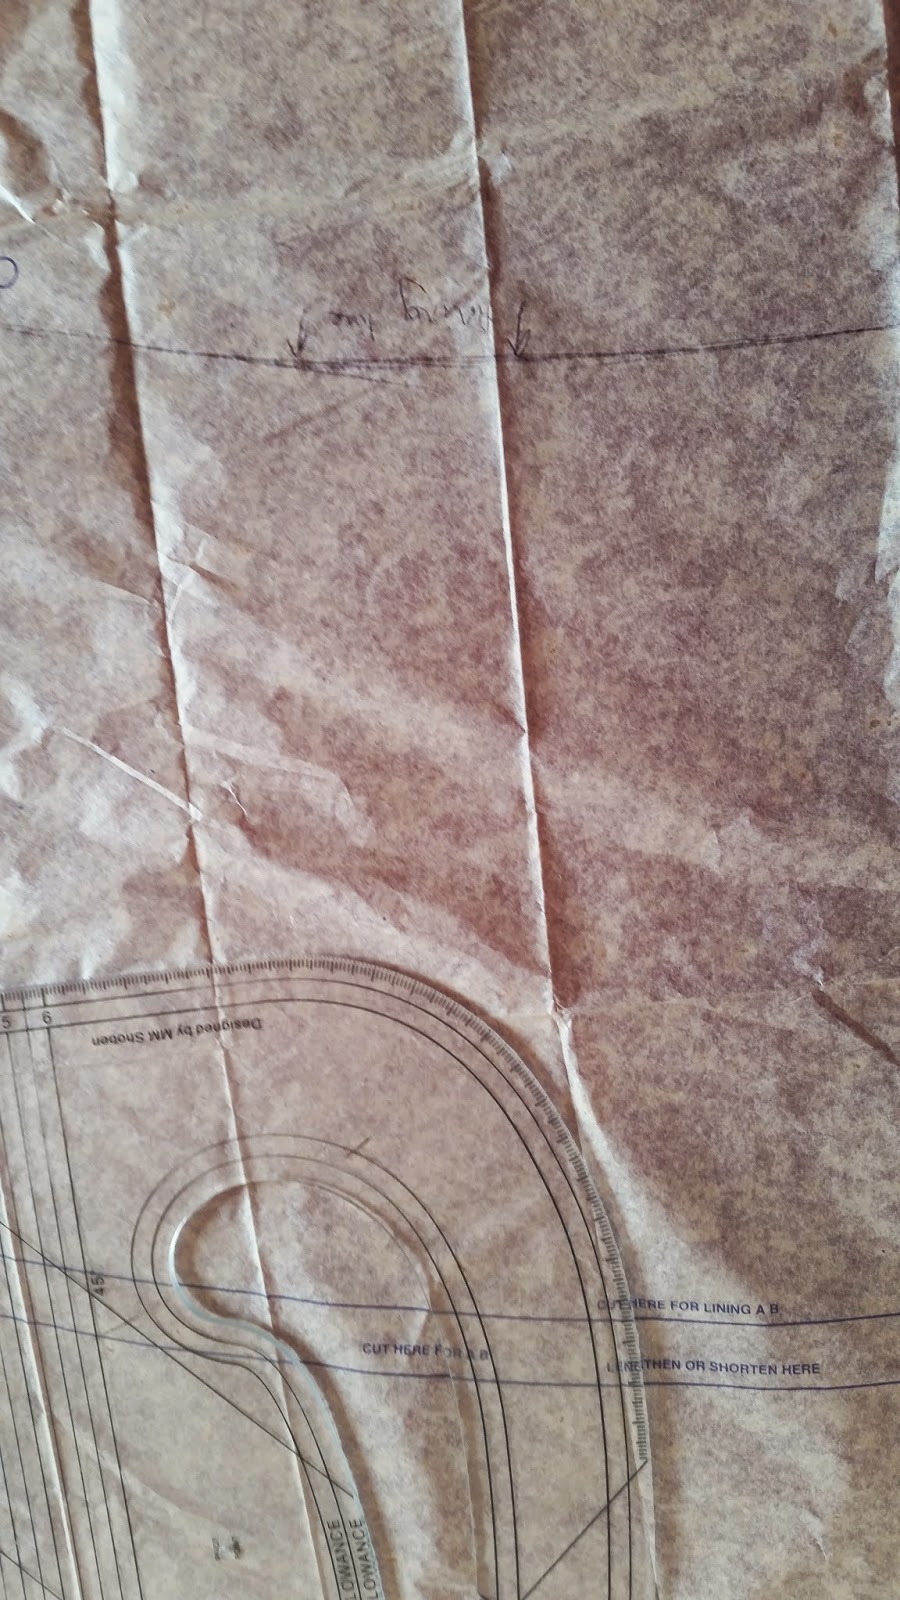
Then its time to cut out.
This is were my first alterations to the pattern happened. I wanted the lining of the skirt to be shorter so the full length of the chiffon is shear. This involved carefully folding the skirt panels to the correct length, another idea would have been to trace over the pattern but adjusting the length.
Now for the sewing, I started with the skirt of the dress. (Yes I did read the instructions, but I also tend to muddle them up a bit when I start, and it worked for me, but if you are not an experienced sewer then please don't risk not doing it properly)
Anyone who has ever worked with chiffon will know that you need to invest in pins, new pins that are sharp and lots of them. Any blunt pins will cause the fabric to pull and pucker. Every time this happens, somewhere a fairy drops done dead. Just kidding, but it is heartbreaking to watch.
Heres some pictures of the lots and lots of pinning
Once I had sewn the seams of the skirt I then did the same for the lining of the skirt.
I then decided to make the elasticated waist of the dress a feature of the dress instead of hiding it away. So I used a thick black elastic that I cleverly recycled from an old pair of trousers that I no longer wear. I attached this to the skirt with a zig zag stitch, stretching the elastic as I sewed to create a gathered waist.
The skirt also has a slit up the left leg to add a cheeky bit of sex appeal.
After a few days off sewing due to crazy dreams of pins falling from the sky, I realised I only had two evenings left after very busy work shifts to complete my dress. My skirt needed a top, so for this bit I followed the instructions for the front of the dress, attaching the lining to the chiffon and the triangle panel in the centre.
I then stupidly decided to press the top without checking the temperature of the iron, the lining melted in a second and I wanted to cry. With quick thinking I sewed the burn hole together and luckily it is not noticeable through the chiffon. Panic over!
I then hemmed around the bust of the top to give a neat finish. I never ironed the dress again until it was completely finished.
The back of the dress I chose not to add the triangle shaped panel that was supposed to be gathered into the back. I attached the top to the skirt to create my dress, but this wasn't enough, there was something missing, it needed something else. So out came the large glass of red and my box of tricks and the embroidery began.
And now the finished garment, that I wore to a friends wedding over the weekend and I got some great feed back. This dress was totally worth all the stress of pinning and nearly burning and a very slippery hem that would not do what I wanted, but I got there and the fabric felt and looked fantastic.
I never did iron the dress again, I was far too scared and had to get my mom to do it for me. I also had time to make a cheeky pair of matching earrings, however, I rushed out of the house and forgot to wear them with the dress. I will have to find another occasion to wear the outfit again.
Thanks for reading guys, and here's a treat for you,
20% off and free p&p when you order from:
Just enter the code:
Thanks for reading
Jo
x


