
... I wasn't sewing (!), having finished my dress with loads of time to spare (around lunch time on Christmas Eve). I’d been planning my dress for quite a while this year, but with so many lovely gifts on the making list I wasn’t convinced I’d actually get the time to finish it.
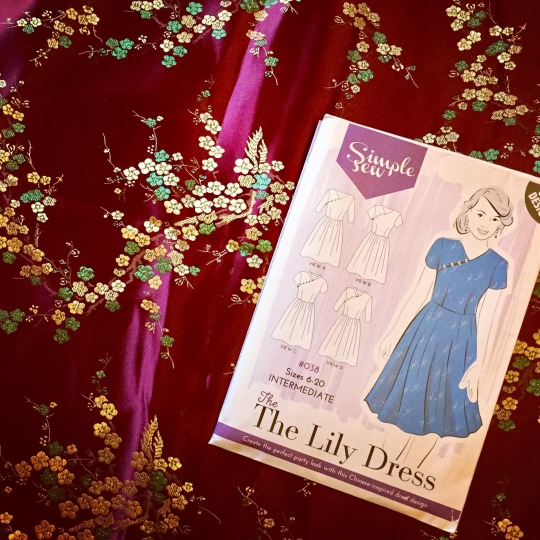
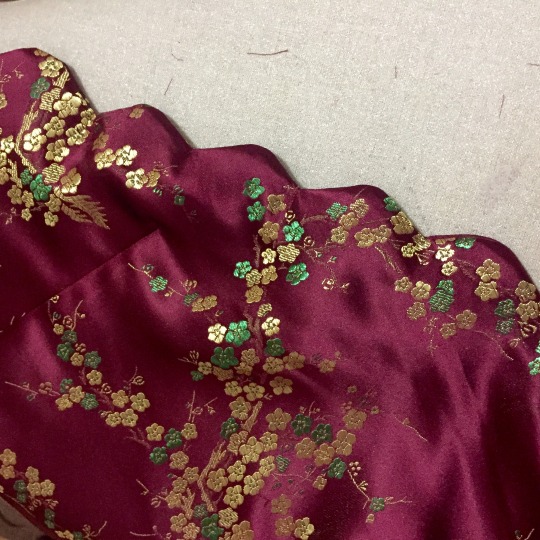
Last year some time a friend of mine had a big destash and gave me three sackfuls of beautiful fabric, which included some stunning Chinese style silk brocade. It sat undisturbed in my stash until I picked up an edition of Love Sewing magazine in Autumn 2016 with the Lily dress on the cover. Ordinarily I wouldn’t be especially interested in a Chinese style dress, but the opportunity was too good to miss with such a perfect fabric option in my stash. I chose option D for the collar and wavy edge detail at the neckline, with the short sleeves from option B/C.
Upon inspection, what looks to be a very technical pattern is actually quite straightforward: simple front and back skirt and back bodice panels, with just the shoulder detail adding a little more of a challenge. I knew the bodice would need some alteration to achieve a good fit, so I started by cutting out the skirt panels and getting those out of the way. I then used my trusty pattern block to check the bodice fit. Now, normally I find that Simple Sew patterns are generously fitted and I tend to need to take 1/2″ out of the back length and grade the width from an 8 bust to a 12 waist. The measurements on the back of the pattern also indicated this would be the case. I was surprised, then, that after comparing to my pattern block, I found myself needing a 12 bodice graded only slightly to a 10 under the arms, and then out to a 14 waist! This pattern is a completely different fit to other garments in the range and just goes to show the need to measure twice on every pattern!
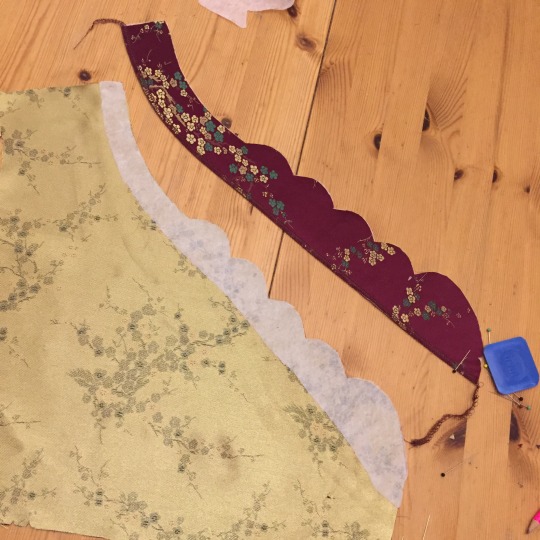
Those of you who are avid Sewing Bee fans will remember a challenge in the middle of the series where the contestants were tasked with making a Cheongsam Chinese-style top, which had many similar features to my garment. You may also remember that many of the sewists struggled with the relentless fray in the fabric (seriously, I’ve never seen anything like it!) and how easily it could pull out of shape, even with careful sewing. For this reason I stabilised each of the seams on the shoulder detail with interfacing before stitching, clipping and grading the seams and turning through.

Bodice complete, I gathered the skirt (not recommended in this fabric!) and attached it to the bodice.
And I hated it! Granted, in this (poor quality) picture the seams haven’t been pressed open and it’s not hanging straight on the mannequin, but it just didn’t look right. I felt the full skirt gave me a bit more room for the Christmas Turkey than I possibly needed and I knew I just wouldn’t wear it.
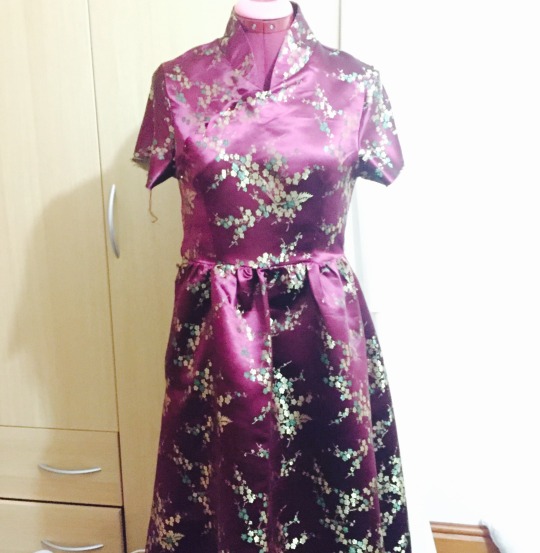
After 24 hours of consideration and a quick walk around the shops for inspiration, I spent the evening of the 23rd removing and recutting the skirt panels using the skirt section from Threadcount 1613, which I used in my previous post for the Velvet Burnout dress. The straight skirt sits so much better than the a-line one, and is much more in-keeping with the Chinese style.
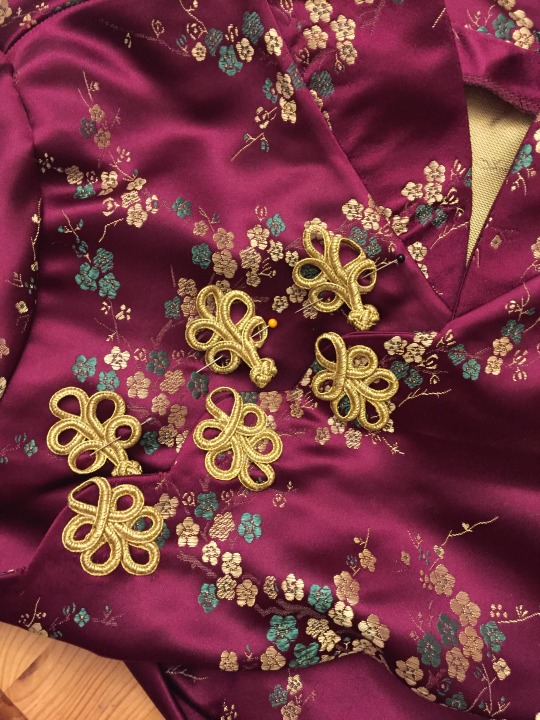
I finished off the dress with some traditional frog fasteners, purchased from a fair trade supplier in Hong Kong via Etsy.
So here I am wearing my dress on Christmas Day!

After a whole day of wearing it I was being driven totally mad by the sleeves and I will definitely be taking them off and recutting them an inch winder across the arm. I’d probably also widen the shoulder width if I made it again, and whilst I much preferred the straight skirt, I definitely should have allowed more room for turkey! But I got lots of lovely compliments on the day and it definitely did the job of being a “wow” Christmas Day dress.
--
Me and my “little” Bro continuing the lifelong tradition of a picture in front of the tree on Christmas Day.

Looks gorgeous Heather. It was a good post to read because while I haven't used Brocade yet, I definitely want to. The straight skirt def looks better :-)
ReplyDeleteGlad it was useful!
ReplyDeleteLooks really lovely. Thanks for the hints and tips, might try this but will take on board all you have said and allow extra time for the project.
ReplyDeleteIt's definitely a slower make, but worth it for the results! Hope to see your version at some point!
Delete