Showing posts with label garden. Show all posts

Wednesday, 10 August 2016

Heather: Project Runway "Missoni" dress

It's been a little while since my last post, due in part to holidays, and also to some very challenging projects! So I thought I'd take a few minutes to show you this gorgeous zigzag lace dress that I made back at the end of July. 

I was given the pattern at the Big Simplicity Blog Meet back in May and didn't really think I'd ever use it, but when I spotted the fabric, which is really similar to the picture, I thought I'd give it a go.


The fabric is from Fabric Corner in Lincoln and was a remnant piece from a heap of individual pieces of lace that were all equally tempting! I was particularly attracted to this one because it had a beautiful zigzag selvage that I thought I could incorporate into the hem somehow. Several people have asked me if it's a Missoni fabric; It isn't, but happy to pretend!

As I mentioned, this was a pretty challenging project. The lace fabric was extremely slippery and the very bold print meant I really had to ensure that the pattern matched throughout the garment. I started off by tracing out the required pattern pieces onto dot and cross paper, making a full sized piece for all of the pieces marked to cut on the fold. This made lining up the stripes much easier!

I checked my size against the finished garment measurements and opted for a size 4 across the shoulders out to a size 10 at the waist and a size 14 across the hips. Once I laid the pattern onto the fabric I realised that I didn't have quite enough fabric to line up all the pieces, but also that the pieces looked really huge, even though the dress is intended to have an elasticated waist. Returning to the pattern I discovered that it had been designed with 8.5 inches of ease! 8.5! I proceeded to reduce the pattern pieces down to sizes 4-6-8 to remove a lot of this ease. I also shortened and re-curved the hemline by 8 inches at this point, so that the front would fall just on the knee and the dropped hem at the back would fall to mid calf. 

Once I had cut out all of the pieces and lined up every possible zigzag, I cut the same pieces out in a fine purple cotton lining. This isn't called for in the pattern instructions, but the fabric was far too sheer to go without, and the neckline would not have lent itself to a slip. From here on the majority of the construction was completed on the overlocker which handled the fabric beautifully. 

One of the most interesting features of the dress is the neckline. The halter style is created by inserting three curved neckline pieces into a channel, rather than using a strip or fabric or ribbon. For the channel section I cut away the lining fabric at the seam allowance to prevent bulk. 
Pattern matched through the neck facing!
Finished centre back fastened with covered buttons and hand stitched button loops. 
The dress has an elasticated waist sewn into another channel which I created between the lining and outer layers. Two long strips of fabric then form ribbons which pass through these (pattern matched) button loops and are tied together in a bow at the back.

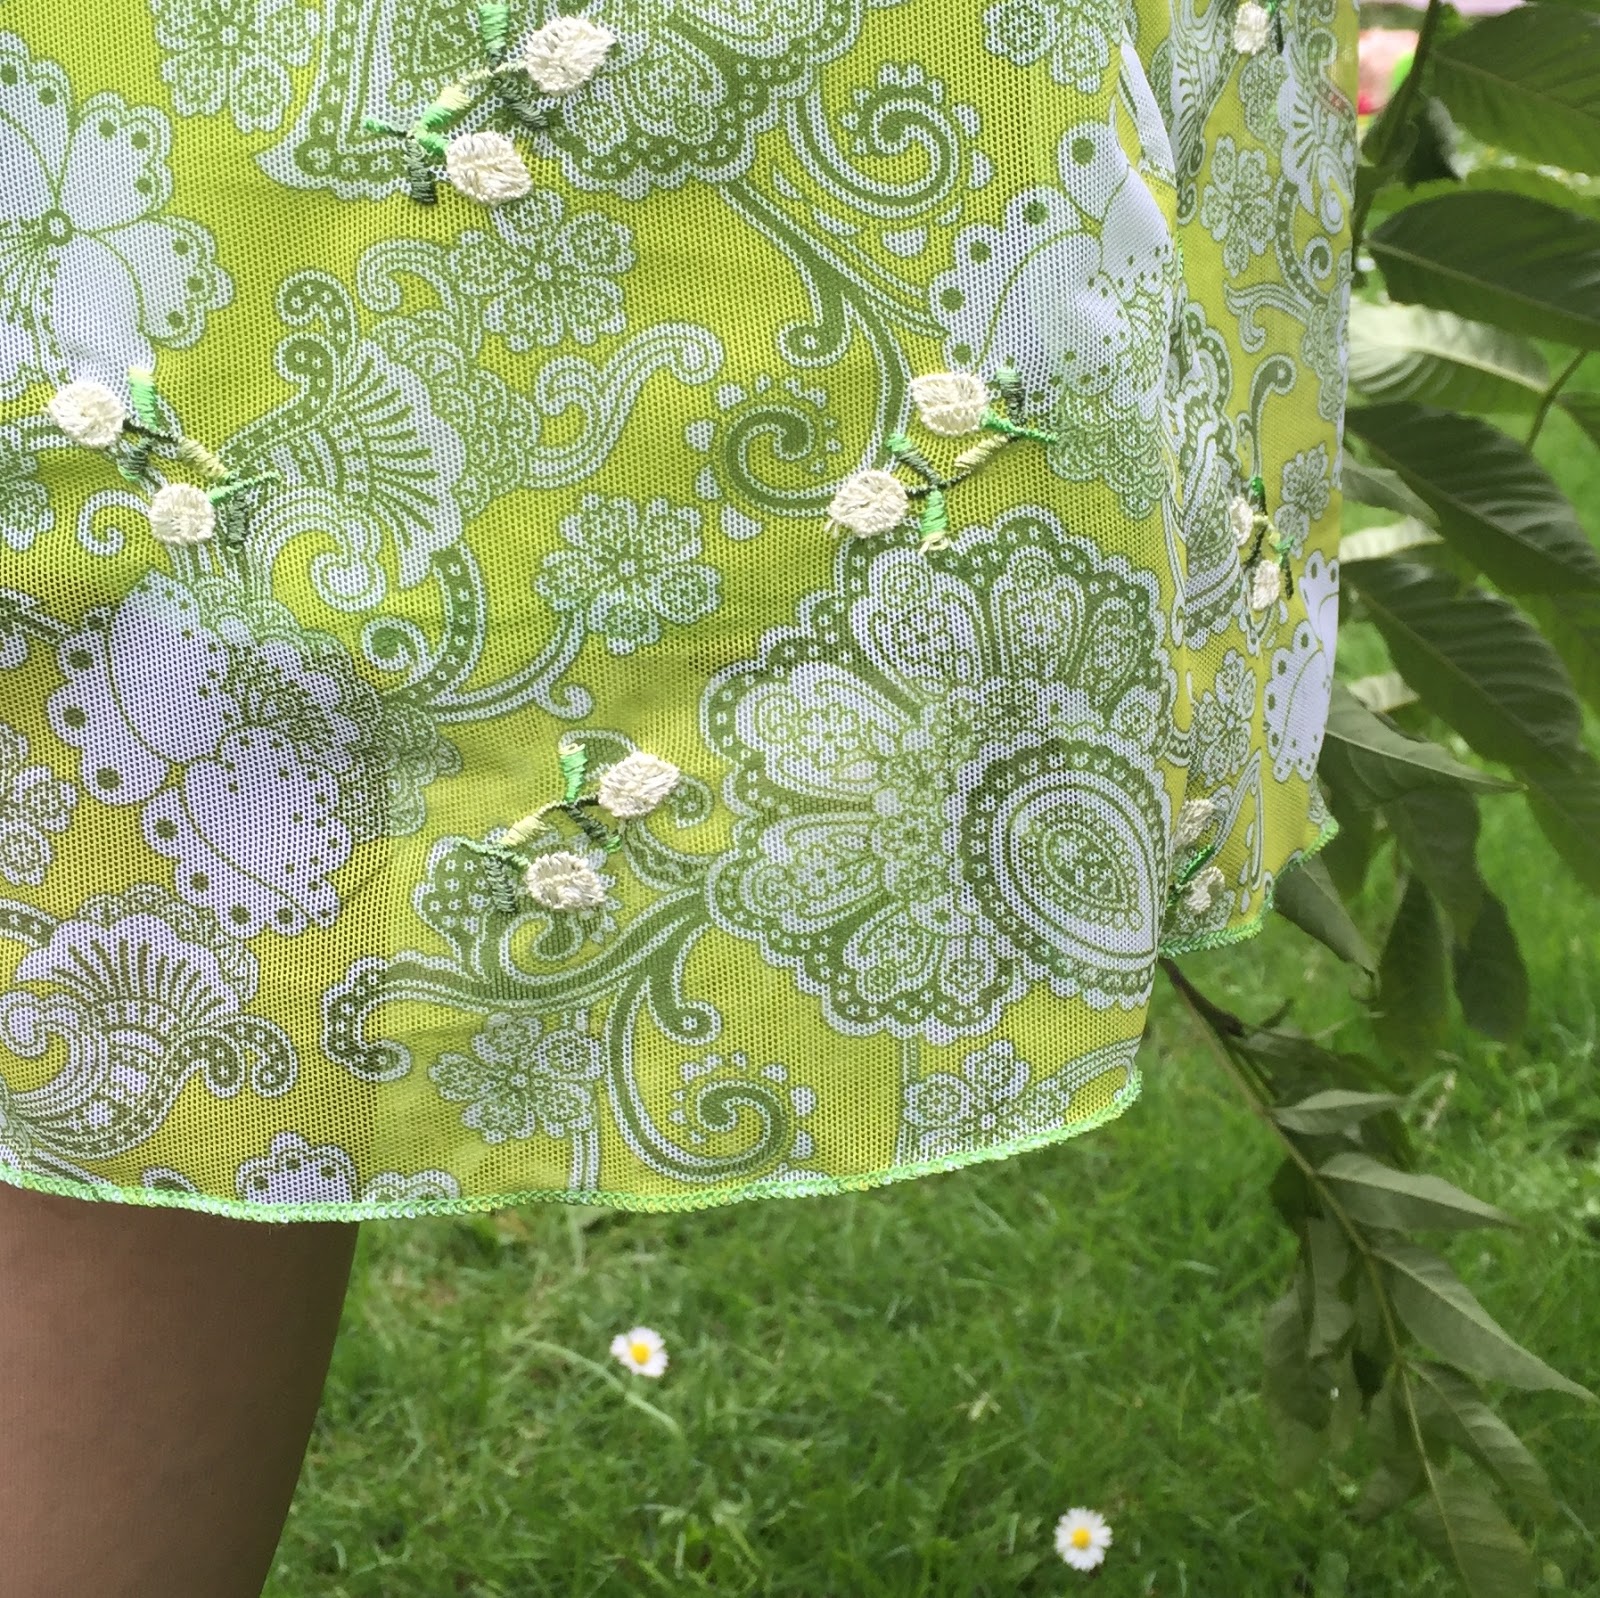
The hemline detail was my main focus throughout the creation of this dress. Having made my wedding dress a few years ago I'm no stranger to attaching a lace hem, but I knew this was going to be hand-stitch hell. To get the selvage from the fabric I used small, sharp scissors to cut around the zig zag design for the full 1.5 metre length of the edge. The edge of the garment is overlocked and then the lace trim was placed over the top, lined up with the design and then hand stitched to create an almost invisible finish.
The selvage stitched on to the hem.
And here is the finished garment! It has turned out even more lovely than I could have hoped!


 Here I am wearing the dress on a recent trip to Harrogate.


---

The materials for this project were sourced at the Craftea Sewing Bee Shop at 22-24 Melville Street, Lincoln. The pattern was kindly donated by Simplicity Patterns.


Sunday, 19 June 2016

Heather: Mum's Simplicity Garden Party Dress

Back in May Bridie and I headed up to Manchester for The Big Simplicity Blog Meet. At the event Simplicity launched their sewing challenge for 2016, which consists of 4 patterns and 5 sewing categories. You can read about them here. I selected the dress pattern and headed over to Fabric Corner to select my fabrics.

Simplicity 1458. Image courtesy of Simplicity
I opted for version B and I was looking for a fabric that was eye catching but relatively easy to work with. The pattern suggests light to medium weight woven fabrics but when I spotted this green paisley-printed, embroidered stretch mesh I knew it was the right thing. (I know, I know, that fabric is neither easy to work with, nor a light to medium-weight woven... but this is supposed to be a challenge, right?!) I found a remnant of green cotton hiding at the back of a shelf and also picked up a fantastic bright green concealed zip.


I headed home, excited by my upcoming make. And then my Mum turned up. Now, I should say that my Mum is an extremely capable sewer and was the first person to pop me in front of a sewing machine and encourage me to have a go (not to mention indulging my incessant stealing of pop socks to make jersey-dresses for Barbie... more on that another day maybe), which means that I couldn't say no when she spotted the fabric and this happened...


So, that's how my green mesh dress became Mum's Garden Party Dress.

Next step was choosing the pattern pieces. This pattern is part of the 'Amazing Fit' range which includes separate front pattern pieces for cup sizes B-DD, and individual back pattern pieces for slim, regular and curvy fit. Even though I've sewn for Mum before I took a new set of measurements and made just a couple one alteration to the pattern, shortening the back length by 1/2". At this point I also altered the sleeve by adding 3 inches at the shoulder seam at the sleeve hem to create a more fluted sleeve.

I made up my toile using the green cotton that would ultimately for the inner layer of the garment. The pattern gives facing pieces fro the neck and armhole which were omitted. If you're reasonably confident on the fit, using a lining is a great way of fitting a garment without needing to make a full toile in muslin. The cotton is also pretty forgiving if it requires unpicking. As expected, at the first fitting I only needed to make slight alterations to the fit, adding a small amount of extra wearing ease at the waist and widening the neckline slightly, as I had decided to move the zipper channel under the arm.

Now for the stretch mesh. I am lucky to be in possession of a rather lovely Janome 8002DX overlocker which was an absolute essential for this fabric. Having transferred all of the alterations from the toile I quickly whipped up the outer layer using the overlocker only, trimming the seam allowances on the machine. The small embroidered flowers on the fabric did present a challenge but a slow speed and perseverance paid off.

I assembled the remainder of the garment treating the cotton layer as the lining, resulting in the exposed seams being enclosed between the mesh and the lawn. I was concerned this would show through to the outer garment but this wasn't the case. I inserted the sleeves and added an invisible zip, finally finishing the hem and sleeve hem with a rolled hem stitch on the overlocker. 


The finished garment went down a storm! Mum and I spent a rather amusing afternoon in her garden trying to get some pictures of the dress 'in use'. Mum's not a fan of being in front of the camera so I told her she could have one garden prop to make her feel more comfortable. I was thinking a watering can, but she went for a branch!


--
The fabric used in this post was kindly provided by Fabric Corner Lincoln, based at The Craftea Sewing Bee Shop, 22-24 Melville Street Lincoln, and at Lincoln's Historic Central Market.