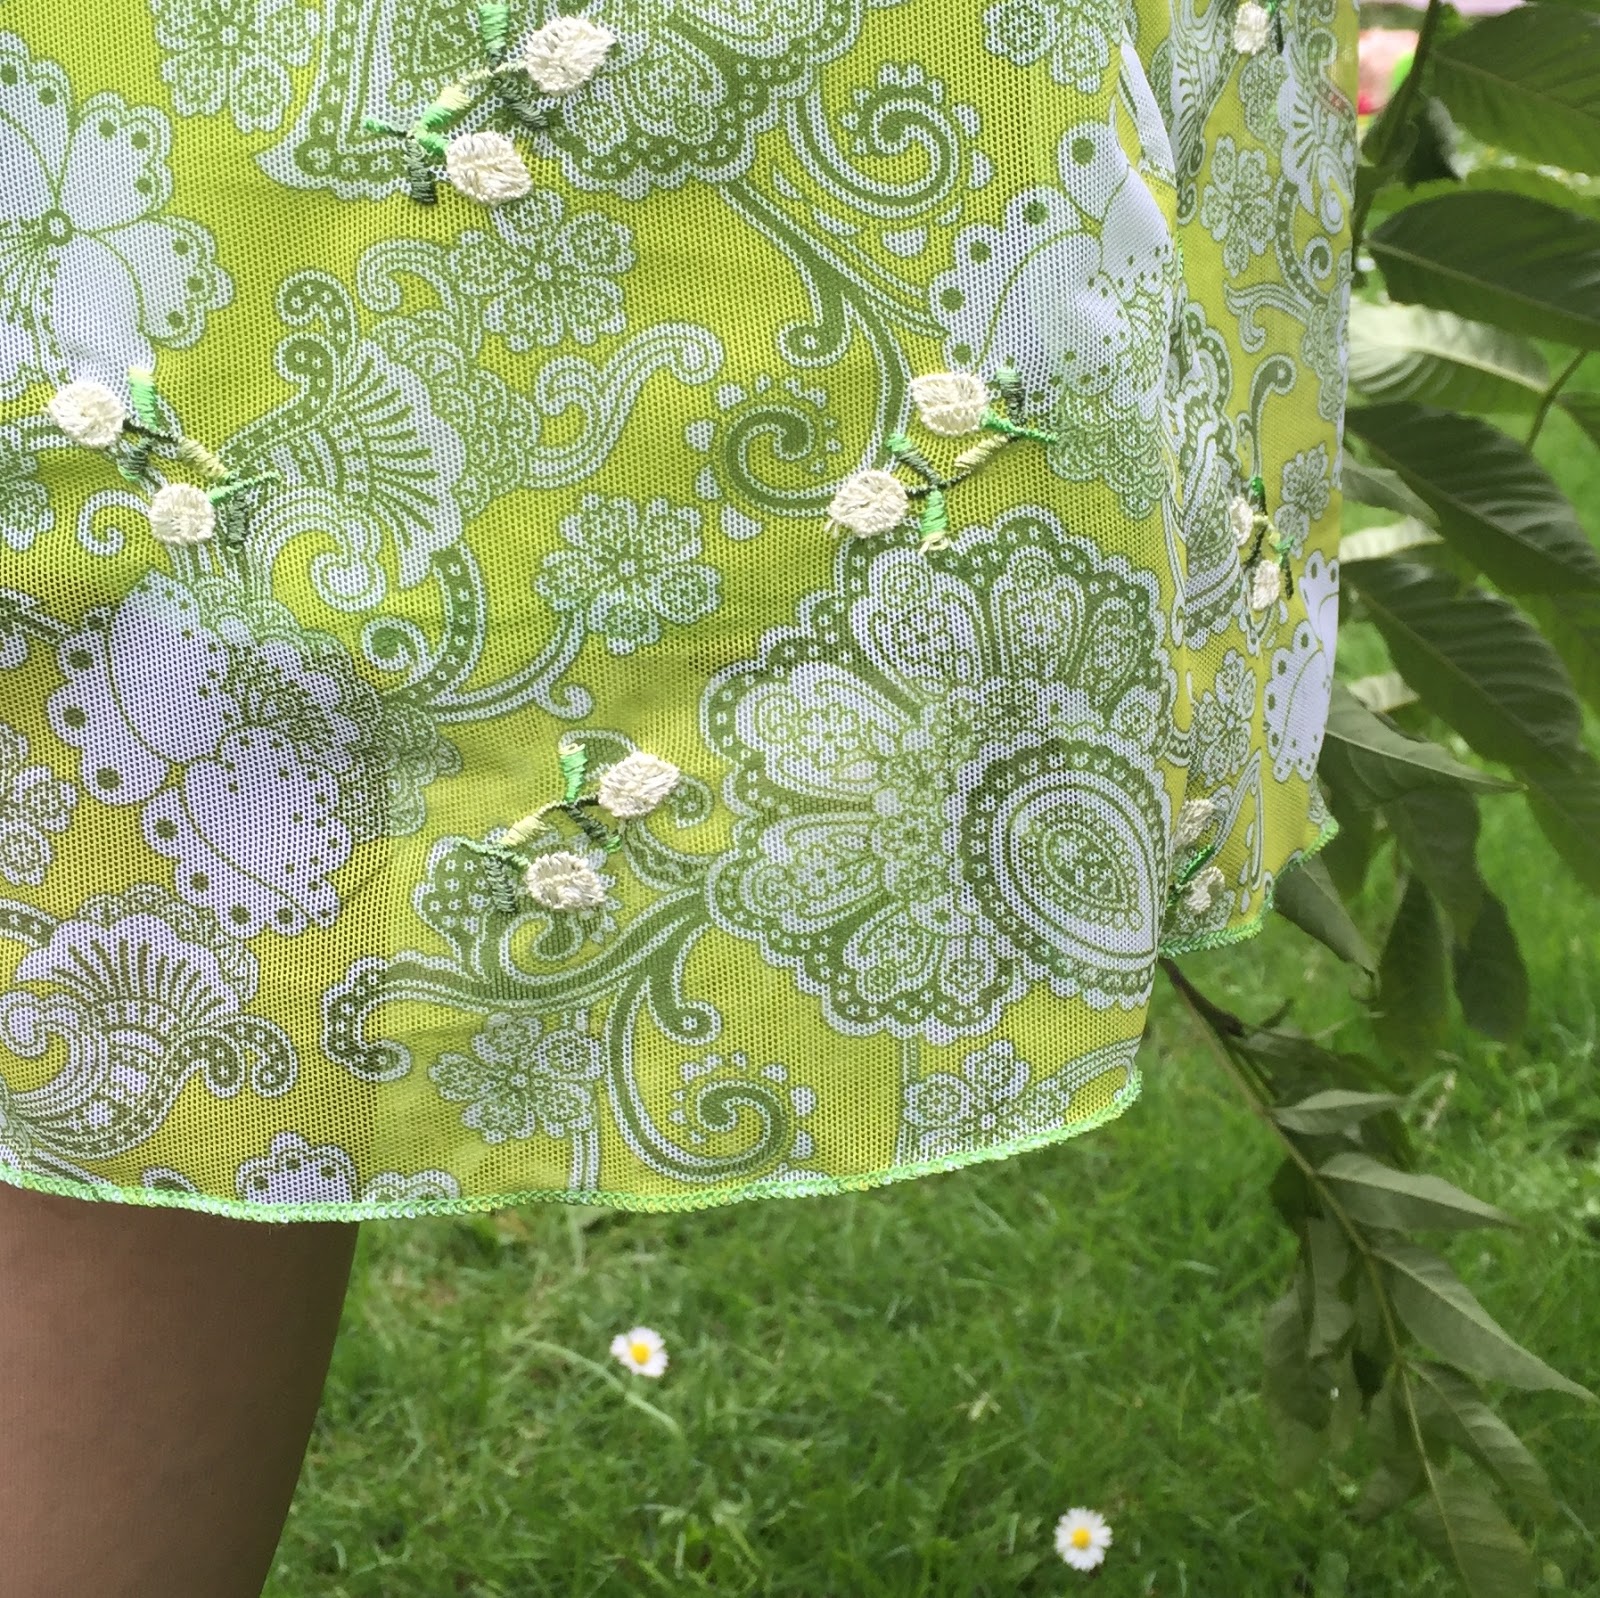
A pinch and a punch...! It's the first of the month so time for my April sewing roundup.

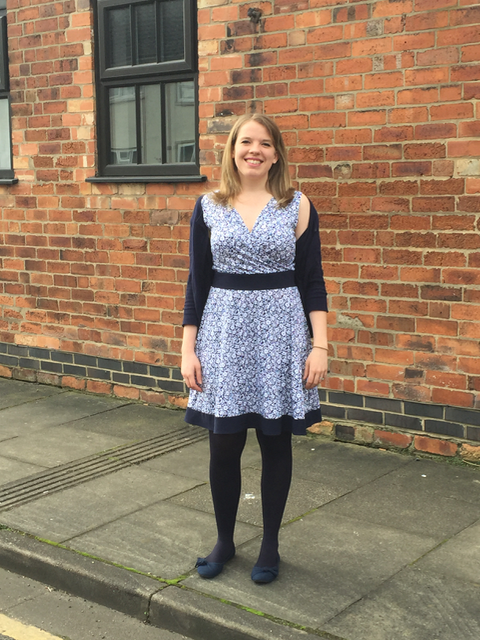
The month started with a bit of 'selfless sewing' for my lovely sister-in-law, Jenny, who visited on the first weekend of the month. I've made a few items for her before and had promised to make something new for her to take on her holidays later in the year. We had a good look through the stash and found a piece of blue floral jersey that I had purchased at last year's NEC sewing show and then promptly forgotten about! She picked the Simple Sew Lena Wrap Dress and we left the boys to cook dinner whilst we set about making her dress. I've made a wrap dress for Jen before but it was a bit revealing over the bust so, following various advice from other sewers online, I decided to do a full bust adjustment which I've never done before. This actually turned out to be a complete waste of time because this pattern is massive! I was working to the finished garment measurements but still ended up taking nearly 4 inches out of the bust and waist. Thanks to the trusty overlocker this was finished in less than 4 hours, and I think she liked it, as she told me she wore it twice the following week!
My next make is one that I am going to unashamedly describe as my 'masterpiece'. I am so, so thrilled with it.
This stunning 'Art Nouveau' print viscose was just £4.99/m at the NEC Sewing Show. "£4.99 per metre for this beauty? I would have bought the roll" I hear you cry. I hear you, because I was yelling it to myself when I realised I had only purchased 1.5m, and that the absolutely-perfect-for-the-job Threaders pattern I had got free with a magazine needed 2.5m.

Never one to be defeated by a piece of fabric, I set about making a wearable toile, made a few adjustments to the bodice length and shortened the sleeves by about 6 inches. I also drafted a front facing piece as I didn't want to line the dress. Once I was happy with the fit I used the muslin pieces as templates to make sure the pattern placement was perfect. I knew I wouldn't be able to match it up perfectly, but good pattern placement is just as important. It took me a whole evening to cut everything out perfectly but it was totally worth it. I removed the seam down the centre back but still had to cut the skirt as two pieces because there simply wasn't enough fabric.I wore the finished dress to my Mum and Dad's Birthday Party at the beginning of the month and got some fab pics in their garden.


My third make of the month was a new blouse from the pattern I self drafted last year. The fabric is a floral cotton with an almost cheesecloth texture from Fabric Corner. As the fabric is summery I decided to shorten the sleeves a little and add a peter pan collar using this fab tutorial from House of Pinheiro. It looks fab with my Cleo Dungaree Dress, which is starting to grow on me!


It was my Birthday in March and this piece of floral viscose from Fabric Corner was a very gratefully received gift, as I had been eyeing it up for quite a while! I also received a copy of the Simple Sew Lucille dress and seeing as I have a few events coming up in May I decided to have a go at something that would be suitable for a smart lunch. I had to make quite a few adjustments to the pattern to get a good fit. I shortened the bodice length at the centre back to prevent the zip from curling under; I shortened the bust pieces at the point of crossover so that I don't have any scary "eyeful' moments; I moved the front skirt pleats because they were marked in a very odd place on the pattern, and despite following the finished garment measurements on the packet I ended up letting out the side seams on the skirt as much as possible because I couldn't actually sit down (or eat any pork pies which, frankly, is more important to me.)

Annoyingly, once I had then totally finished everything, tried it on 5 times during the making process and then hung it in the wardrobe for a week, I tried it on again and discovered that I need to pull the shoulders up by an inch to stop it gaping at the back. I'm not sure whether I missed this or whether the fabric has stretched being on the hanger, but hopefully this will get altered before the event.
My final make for the month was actually a remake. I made this yellow tunic dress last year from the Simple Sew Colour Block Dress pattern, and whilst I'd worn it a few times last summer, I was never totally thrilled with the fit and finish. When the yellow jersey appeared at Fabric Corner once again, I decided to make some changes.

I had a flash of inspiration that I could turn it into my new favourite, the Moneta Dress, so I decided to unpick the sleeves and side seams and cut out the bodice and sleeves from the tunic. I used the excess fabric from the tunic to make the pockets and cut a new skirt from the extra fabric I had purchased.
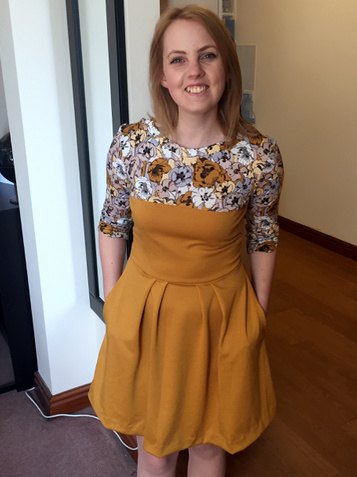
A much more 'me' dress!
So finally I just want to introduce this month's #dressmakingbloggerchallenge
May for me means Maypoles and spring dresses, so this month's theme is Stripes!

Happy Sewing everyone, see you next month!