Showing posts with label love sewing. Show all posts

Monday, 26 December 2016

Heather: The night before Christmas...

... I wasn't sewing (!), having finished my dress with loads of time to spare (around lunch time on Christmas Eve). I’d been planning my dress for quite a while this year, but with so many lovely gifts on the making list I wasn’t convinced I’d actually get the time to finish it.
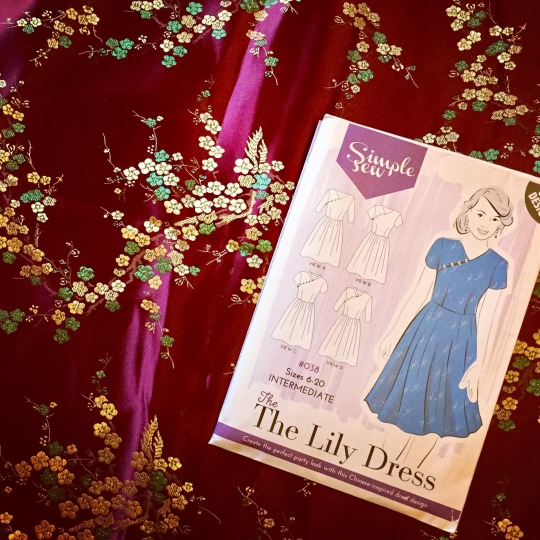
Last year some time a friend of mine had a big destash and gave me three sackfuls of beautiful fabric, which included some stunning Chinese style silk brocade. It sat undisturbed in my stash until I picked up an edition of Love Sewing magazine in Autumn 2016 with the Lily dress on the cover. Ordinarily I wouldn’t be especially interested in a Chinese style dress, but the opportunity was too good to miss with such a perfect fabric option in my stash. I chose option D for the collar and wavy edge detail at the neckline, with the short sleeves from option B/C.
image
Upon inspection, what looks to be a very technical pattern is actually quite straightforward: simple front and back skirt and back bodice panels, with just the shoulder detail adding a little more of a challenge. I knew the bodice would need some alteration to achieve a good fit, so I started by cutting out the skirt panels and getting those out of the way. I then used my trusty pattern block to check the bodice fit. Now, normally I find that Simple Sew patterns are generously fitted and I tend to need to take 1/2″ out of the back length and grade the width from an 8 bust to a 12 waist. The measurements on the back of the pattern also indicated this would be the case. I was surprised, then, that after comparing to my pattern block, I found myself needing a 12 bodice graded only slightly to a 10 under the arms, and then out to a 14 waist! This pattern is a completely different fit to other garments in the range and just goes to show the need to measure twice on every pattern! 
Those of you who are avid Sewing Bee fans will remember a challenge in the middle of the series where the contestants were tasked with making a Cheongsam Chinese-style top, which had many similar features to my garment. You may also remember that many of the sewists struggled with the relentless fray in the fabric (seriously, I’ve never seen anything like it!) and how easily it could pull out of shape, even with careful sewing. For this reason I stabilised each of the seams on the shoulder detail with interfacing before stitching, clipping and grading the seams and turning through.
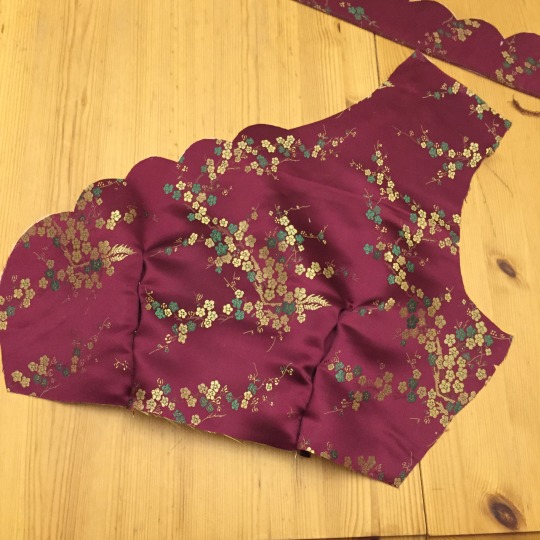
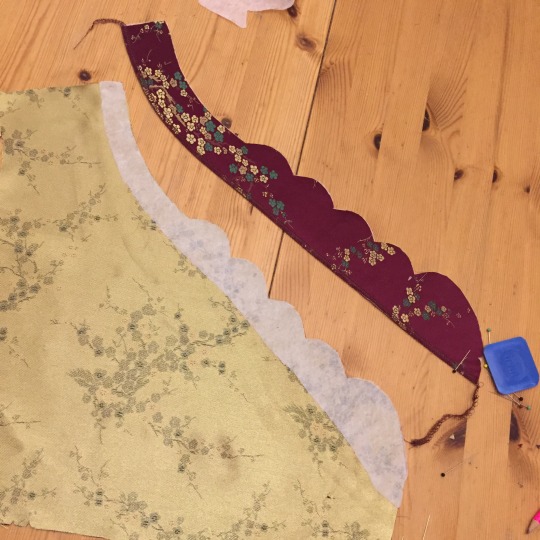
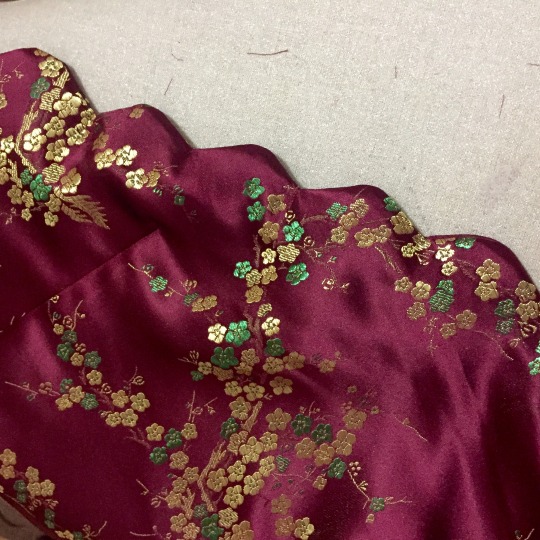


Bodice complete, I gathered the skirt (not recommended in this fabric!) and attached it to the bodice.
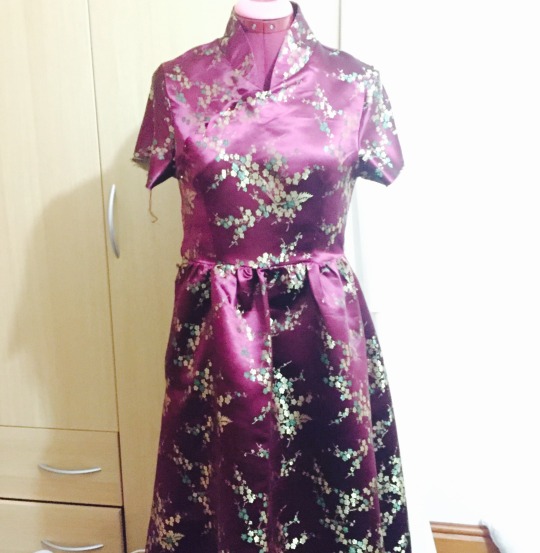
And I hated it! Granted, in this (poor quality) picture the seams haven’t been pressed open and it’s not hanging straight on the mannequin, but it just didn’t look right. I felt the full skirt gave me a bit more room for the Christmas Turkey than I possibly needed and I knew I just wouldn’t wear it. 
After 24 hours of consideration and a quick walk around the shops for inspiration, I spent the evening of the 23rd removing and recutting the skirt panels using the skirt section from Threadcount 1613, which I used in my previous post for the Velvet Burnout dress. The straight skirt sits so much better than the a-line one, and is much more in-keeping with the Chinese style. 
I finished off the dress with some traditional frog fasteners, purchased from a fair trade supplier in Hong Kong via Etsy.
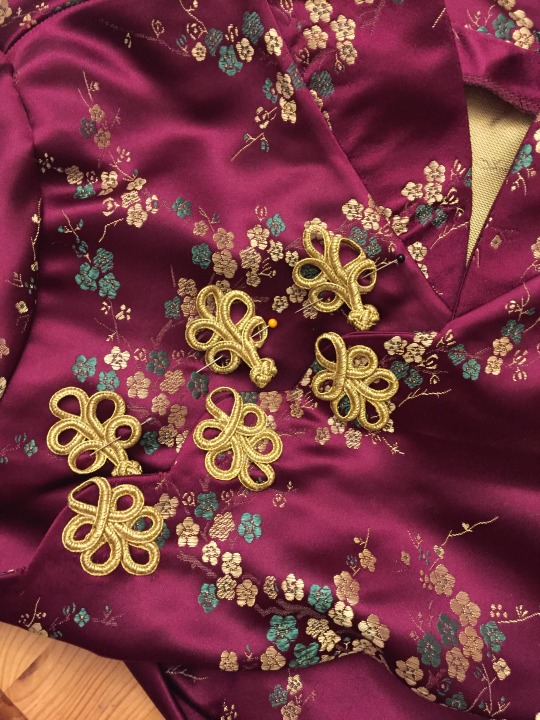
So here I am wearing my dress on Christmas Day!
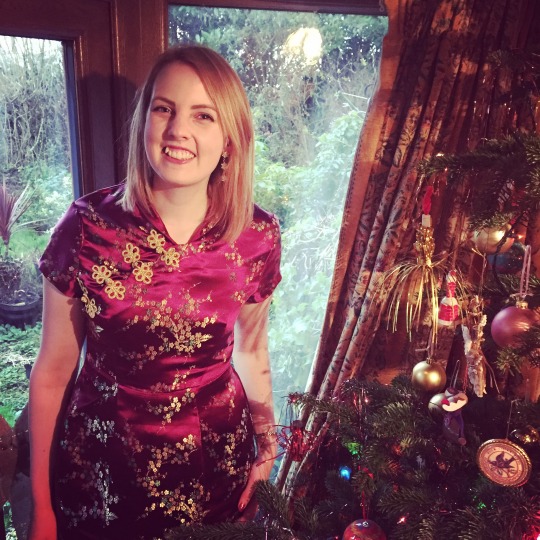
After a whole day of wearing it I was being driven totally mad by the sleeves and I will definitely be taking them off and recutting them an inch winder across the arm. I’d probably also widen the shoulder width if I made it again, and whilst I much preferred the straight skirt, I definitely should have allowed more room for turkey! But I got lots of lovely compliments on the day and it definitely did the job of being a “wow” Christmas Day dress.
--
Me and my “little” Bro continuing the lifelong tradition of a picture in front of the tree on Christmas Day.
 

Thursday, 15 December 2016

Heather: Speedy makes and December sew far

Once again it's been a month since I shared my makes with you (really, where has 2016 gone?), but it's been a really productive month at the sewing machine, so I thought I'd give you a bumper roundup of some of my recent makes. Each of these projects were "speedy sews", made in a single evening, or in some cases, just a few hours! Hopefully you'll feel inspired. 
 

Velvet Burnout Party Dress
 
First up is Threadcount 1613 made up in a sparkle velvet burnout fabric, made up in around 4 hours. I made quite a few adjustments to this pattern, particularly on the back panels and shoulders, both of which were shortened and tweaked by about an inch to get a more precise fit in the bodice. The fabric itself is quite firm- it has stretch but behaves more like a stretch denim than a jersey- but this allowed for a really close fit without compromising my ability to breathe! 

I'm not normally a fan of a peplum, always believing them to make my bum look big, but I pinned this one together and was pleasantly surprised with the fit and styling, so it made the final cut!


Floral Heather Dress
 
Next up, a version of the Heather Dress by Sew Over It (I had to!). Again, a one-evening make as I had already made a version in red sweater knit for practice and I was able to make the entire garment on the overlocker. The fabric is a heavy weight jersey with a low % stretch. The slightly lower than required stretch meant that I needed to allow a little more room over the bust and across the arms than the previous version. I also made two simple alterations to this pattern, adding a cuff to the sleeves (cut sleeves shorter, sew a rectangle of fabric, short edges together, fold lengthways, attach to sleeve!) and a slightly deeper neck band for a roll neck effect. This dress is so comfortable that I want one in every colour!


Stripy Jumper Dress
 
My next speedy make was a self drafted jumper dress made after work on a Friday evening (started at 4.30) and worn out to dinner the very same night (at 6.30!). The pattern started life as a simple shift dress from Burda, to which I added a grown on sleeve, to make, essentially, a giant t-shirt! I've made this pattern up before in black and white ponte and it's a real wardrobe staple for warmer days in the office, so when I saw the pink and navy stripe I knew exactly what I wanted to make. On this version I lengthened the sleeve to the elbow and then added a panel for the lower sleeve. I also added a wide neckband for an extra level of coziness! 
  

Dashwood Annabelle 
 
And last, but by no means least, we have Annabelle, the absolutely gorgeous new floral dress I whipped up last weekend to wear out for lunch with my Nanna. The pattern was free with December's Love Sewing Magazine and the design was quite straightforward. The new Paper Meadow range by Dashwood has some beautiful coordinating fabrics and I knew straight away I wanted to use these together. I also picked up some orange cotton lawn to use as the lining and set to work! As usual I shortened the back length by about an inch at the lower back, and also at the shoulder by 1/4". I did also adjust the front bodice length slightly at the neckline, deepening the curve by about 1/2". I started sewing after Saturday night's Strictly and was at the restaurant by Midday on Sunday! 


-
All of the fabrics used were sourced from Fabric Corner at the Craftea Sewing Bee Shop, 22-24 Melville St, Lincoln. Call in for your next speedy sewing project!

Saturday, 16 April 2016

Heather: Simple Sew 'Kate' Jersey Dress

We've all been there. It's Midday on Saturday and your mind wanders to 'what to wear to the party tonight?' Well this is one such project. Having rooted through the wardrobe I discovered I had nothing* to wear!
*honest!

A quick root through my stash produced 2 metres of printed floral jersey viscose, and a brand new pattern from the March edition of Love Sewing; the "Kate' jersey dress. (I didn't have time to wash and dry the fabric before using, which is a big risk with jersey, but I didn't really have a choice!)

The pattern itself is quite simple- a single back panel (no darts), a front skirt, waist panel, and bodice panel, basic sleeve, tie panels and two facings. I opted for the size 8, as the finished pattern measurements were quite generous. 

Attaching the bust and waist panels was probably the most tricky part of the project. The deep v neck meets with the upwards v at the waist and extra attention is needed to ensure both points line up!
Here is the partially assembled garment: 


After trying on, I decided to take an inch out of both side seams, and shorten the sleeves to above the elbow for a more casual look. (This was looking too much like a work dress for my liking!) I also turned up a very generous 1.5 inch hem for more of a 'party' length. 

Here is the finished dress! I think I'll be making one of these in every colour.