Sunday, 2 November 2014

Bridie: The Sew It Yourself Meet Up


So about a month ago now I was on Twitter (no surprise there) just having a read and having a look at what sewing projects Twitter friends were working on when I noticed #lincshour was about to start. Which is an hour on Mondays 8 - 9pm promoting local businesses and events in my area. I decided to but a little tweet about the challenge and blog not really expecting any response. Surprisingly it got quiet a lot of interest, I thought I'd mention an idea I'd been thinking about for a while which was to hold a meet up where people who love sewing and making clothes could meet, chat about sewing, swap tips and ideas. Over tea and cake of course! 

This idea got some great response which was really exciting, I had some brilliant twitter conversations with a lot of creative folks. I do love Twitter when this happens! It was suggested that Rock + Paper + Scissors a great craft cafe and shop, would be the perfect place to hold the meet up. I loved this idea and was very excited when the owner showed interest. 

Oh my this could actually happen.

I popped into Rock + Paper + Scissors and had a chat with the owner who is lovely and seemed just as excited about the meet up as me and had some great ideas. Exciting! 
I started a Facebook group which got great response there seems to be a bit of an underground sewing movement going on in Lincolnshire.
I also made some posters but thanks to my on again off again relationship with technology, took me forever and were far to late to be much use. Defiantly the first thing on my to do list for next time! 

So the 1st of November comes I have my new dress finished (really please with this one it will be in my next post) and feeling really excited and a little nervous. There was no need we had a great turn out for our first meet up! 


A great group of ladies! We drank tea, had cake and talked about sewing projects while looking at some gorgeous books and having a giggle. It was just what I'd hoped it would be! I came away with so many ideas and more books added to my wish list. Its a good thing Christmas is just round the corner! 


Everyone seemed excited about our next meet up! Which will be on the 13th of December as the Christmas market is the week before. We're going to have a fabric and pattern swap which will be good as I have so many patterns I don't have a clue what to do with. It being so close to Christmas I'm looking forward to hearing about any festive projects folks have planned.

If your interested in our group take a look at our Facebook group for more details.
  

Monday, 29 September 2014

Jo: White Tree Fabrics

As many of our lovely blog readers are aware, we have joined forces with the fabulous White Tree Fabrics and become part of their blogging team.
So here is my first project post. I have to admit this project has pushed me to the max and almost had me in tears when I had a very close call with an iron. 

I chose a wine chiffon with a red lining for my dress and I seem to be loving the colour red at the moment and it can be worn in any season.

So heres my vogue pattern,  and how it is supposed to look, and as many people will know I like to chop and change things and alter and embellish.


So first steps of using a pattern that isn't mine is to read the instructions, they are there for a reason. They tell you how lay out your pieces on your fabrics to make sure they all fit with out wasting fabric and give you a step by step guide on how not to mess up your dress. 
Then its time to cut out. 


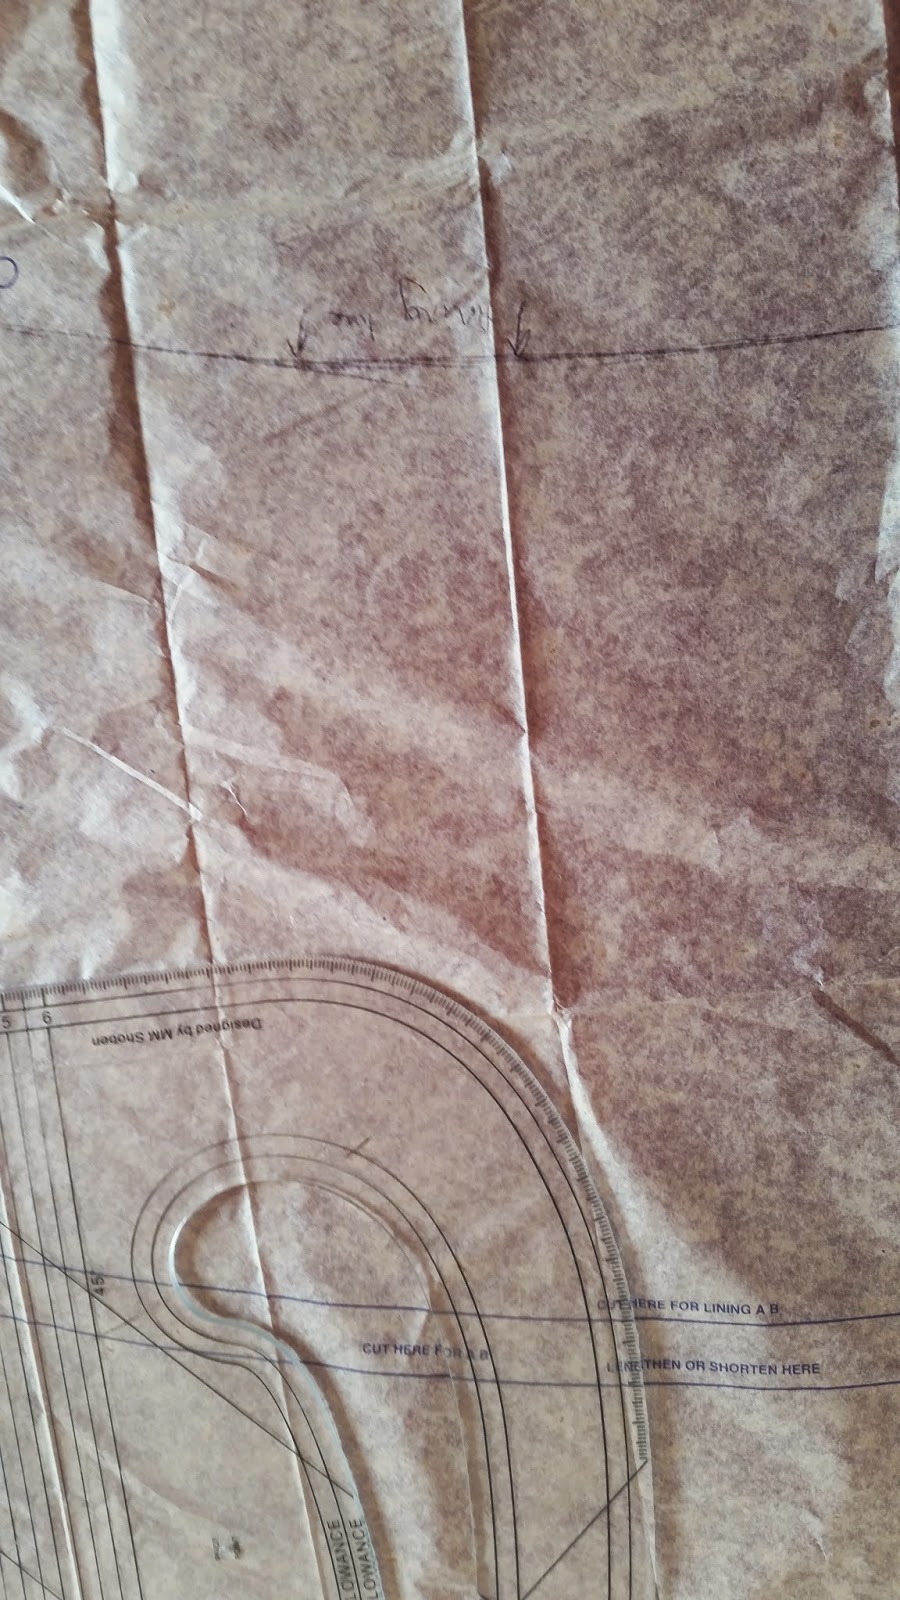
This is were my first alterations to the pattern happened. I wanted the lining of the skirt to be shorter so the full length of the chiffon is shear. This involved carefully folding the skirt panels to the correct length, another idea would have been to trace over the pattern but adjusting the length.


Now for the sewing, I started with the skirt of the dress. (Yes I did read the instructions, but I also tend to muddle them up a bit when I start, and it worked for me, but if you are not an experienced sewer then please don't risk not doing it properly) 
Anyone who has ever worked with chiffon will know that you need to invest in pins, new pins that are sharp and lots of them. Any blunt pins will cause the fabric to pull and pucker. Every time this happens, somewhere a fairy drops done dead. Just kidding, but it is heartbreaking to watch. 

Heres some pictures of the lots and lots of pinning 


Once I had sewn the seams of the skirt I then did the same for the lining of the skirt. 


I then decided to make the elasticated waist of the dress a feature of the dress instead of hiding it away. So I used a thick black elastic that I cleverly recycled from an old pair of trousers that I no longer wear. I attached this to the skirt with a zig zag stitch, stretching the elastic as I sewed to create a gathered waist.


The skirt also has a slit up the left leg to add a cheeky bit of sex appeal.
After a few days off sewing due to crazy dreams of pins falling from the sky, I realised I only had two evenings left after very busy work shifts to complete my dress. My skirt needed a top, so for this bit I followed the instructions for the front of the dress, attaching the lining to the chiffon and the triangle panel in the centre. 
I then stupidly decided to press the top without checking the temperature of the iron, the lining melted in a second and I wanted to cry. With quick thinking I sewed the burn hole together and luckily it is not noticeable through the chiffon. Panic over!


I then hemmed around the bust of the top to give a neat finish. I never ironed the dress again until it was completely finished.


The back of the dress I chose not to add the triangle shaped panel that was supposed to be gathered into the back. I attached the top to the skirt to create my dress, but this wasn't enough, there was something missing, it needed something else. So out came the large glass of red and my box of tricks and the embroidery began.


And now the finished garment, that I wore to a friends wedding over the weekend and I got some great feed back. This dress was totally worth all the stress of pinning and nearly burning and a very slippery hem that would not do what I wanted, but I got there and the fabric felt and looked fantastic.


I never did iron the dress again, I was far too scared and had to get my mom to do it for me. I also had time to make a cheeky pair of matching earrings, however, I rushed out of the house and forgot to wear them with the dress. I will have to find another occasion to wear the outfit again.


Thanks for reading guys, and here's a treat for you,
20% off and free p&p when you order from:


Just enter the code:
 "SIY challenge"

Thanks for reading
 Jo 
x


Jo: 90's Skater dress

Four months into the challenge, and the past few months I have come to a bit of a stand still as I was moving house, doing exams, catching up on uni work and working 50 hour weeks. 
*Que the worlds smallest violin.*
However, after all of that stress, the best way to take my mind off it is to get into a situation where I want to burn my fabric and throw my sewing machine out of a window. 

So heres what I've been making. A few weeks ago I gave up on summer and got all of my winter jumpers out, and ever reliable British weather decided to throw out some more glorious sunshine. Excuse to make a cheeky summer dress. I've had this fabric for ages and loved the colour. I noticed a trend of 90's style skater dresses emerging over summer and the pattern is so simple. So out came the pattern master, blocks and pattern paper. Done, basic shift dress pattern.


Now to cut out.


I will always recommend and suggest pre-washing fabrics and ironing out the creases before you cut out your pattern pieces, however, I am a very lazy sewer who likes to cut corners, I also needed to leave the house in an hour, so I had to get a move on if I wanted something new to wear. 

Please forgive me for my lack of mid sewing pictures, but first I tacked and sewed the darts, then side seams, followed by shoulders and finally hemmed. 
The finished result, Im really pleased with it and will now be handing the pattern over to my mom so she can try to make her very first dress. 


Friday, 5 September 2014

Bridie: Pattern Pages Jackets

Firstly I'm sorry I've not been blogging as often as I'd like to, life with a small baby sometimes means sleep is just too appealing no matter how much I want to stay up all night and sew! I've not fallen off the challenge wagon though and back on top of my sewing projects and intend for it to stay that way! This may be wishful thinking I do love my sleep!

A few weeks ago I got chatting to a lovely lady called Julie on Twitter, Julie is the founder of a website called The Pattern Pages which aims to be your one stop shop for all your dressmaking needs. It has great tips, look books of trends and patterns and a wide selection of Burda patterns. 

Julie asked if I'd like to try out one of their Burda patterns and I obviously jumped at the opportunity. Looking through the patterns I eventually found this great little jacket with a choice of two styles. I thought it would be a great joint project with the girls to see how different your garments can turn out even using the same pattern. I mentioned this to Julie and she kindly sent us a couple of copies of the pattern below. Burda 7213


I decided to go with the oriental style jacket as I had the perfect fabric to go with it.
This beautiful vintage fabric which has an almost Egyptian style pattern in lovely muted colours and gold.


I loved the pattern but decided alter it slightly by flaring out the back and leave the front open with no fastenings.  


This went well but because I'd made the back piece bigger I didn't have enough fabric to cut it on the fold. So instead I decided to make a feature of the back seam by using a turned and stitched seam and using a contrasting purple thread for the top stitching. 


I love it when things you hadn't planned to do look great. Hint always pretend that its a design feature! 


Next came my old friend the collar. As you may of seen in previous posts collars and me do not usually get on! I have spent many a night wanting to pull my hair out trying to figure out where I've gone wrong! This one was a really quiet simple shawl collar so was pretty much stress free!


For the facings I had some lovely purple fabric which matched my top stitching perfectly. Again another happy accident, I do love it when that happens!


I'm really happy with the out come and love wearing it! I find myself walking down the street willing people to ask me where I got my jacket from just so I can say "oh this I made this "


Thanks again to Julie from The Pattern Pages!

Keep your eyes peeled for more variations of the same pattern created by my fellow challengers.

Thursday, 17 July 2014

Laura: My White Tree Fabric Project

For my first project with White Tree Fabrics I chose a lovely pattern by vogue and an absolutely gorgeous damson chiffon.


It may surprise some of you but I have never sewn from a bought pattern before.. I have always just made my own that way I know it will fit me perfectly, so this was a new venture for me.

I read the instructions through word for word and got to cutting out the right pieces for the dress.

I stitched a simple toile for this dress to ensure that it would fit me right. I'm glad I did because I had to make a few adjustments to the skirt and round my bust to give me more space to breathe but other than that it fitted well.


The damson chiffon fabric is fairly see through so for the lining I used a light blue cotton I had spare. Underneath the chiffon you can barely tell its there


Chiffon can be a tricky fabric to cut and sew with. I had to buy a new pair of scissors for this fabric as my others just weren't sharp enough no matter how much I tried to sharpen them.

Lots of pins and weighing the chiffon down and it was pinned and ready to cut. With my new scissors it was a dream to cut.


.
The bodice without the lining


The Bodice with the lining. This lining complements to chiffon nicely as it brings out the rich damson colour.

The dress was fairly quick to sew together, the biggest issue I had was deciding how to finish the seams inside. When I first started this project I was set on doing French seams but the chiffon fabric did not want to press into place so I took the brave decision to over lock the seams. It took some time to get the lining and the chiffon to line up perfectly.


 Lots of stay stitching and it was finally done.


Close up of the square neckline.


Close up of the tab sleeves


& the finished dress.


Another beautiful dress to add to my collection of possible dresses to my Brother-in-laws wedding in August Think this is a good contender.. I may need to have some wardrobe changes throughout the day so I can wear them all.

And as a bonus all of our readers can enjoy a lovely 20% off and free p&p just use the discount code "SIY challenge"


Thanks for reading
Laura 
X

Thursday, 10 July 2014

Laura: Butterfly Dress

I'm just going to start this post by saying I LOVE this fabric and pattern so much. It fits so well and the fabric is just so summery perfect for this weather we have been having!
I mean seriously how lovely is this.


The pattern I drew up my self, I don't even know where to start to explain how to do this.. I just get out my pattern paper and pattern master and do it. I suppose starting off with your basic bodice and dress blocks is a good place to start then I start to trace them and alter them to my working drawing which is in my head most of the time. 


The pattern pinned onto the lovely fabric and ready to cut!  I actually made the skirt too wide at my hips looked a bit like a umpa lumpa to start with. I must think my bum is bigger than what it is. 


I have a thing for capped sleeves, there so easy to put in plus they hide mistakes really well.


The back I made into a shallow V along with a slit neck at the front.

& the finished dress...


Apologies for my :/ face.. I really don't like my photo being taken.. but having taken some tips from Tilly and the buttons recent post about how to make your photos look better. I though I would give it a go instead of lots of mirror selfies.

Thanks for reading 

Laura
 x